AWS Chatwoot Deployment Guide
The following is the guide for deploying Chatwoot on AWS using the marketplace listing. Use our helm charts with AWS Elastic Kubernetes Service(EKS) for a cloud-native deployment.Prerequisites
- AWS account
Install Chatwoot via AWS Marketplace AMI
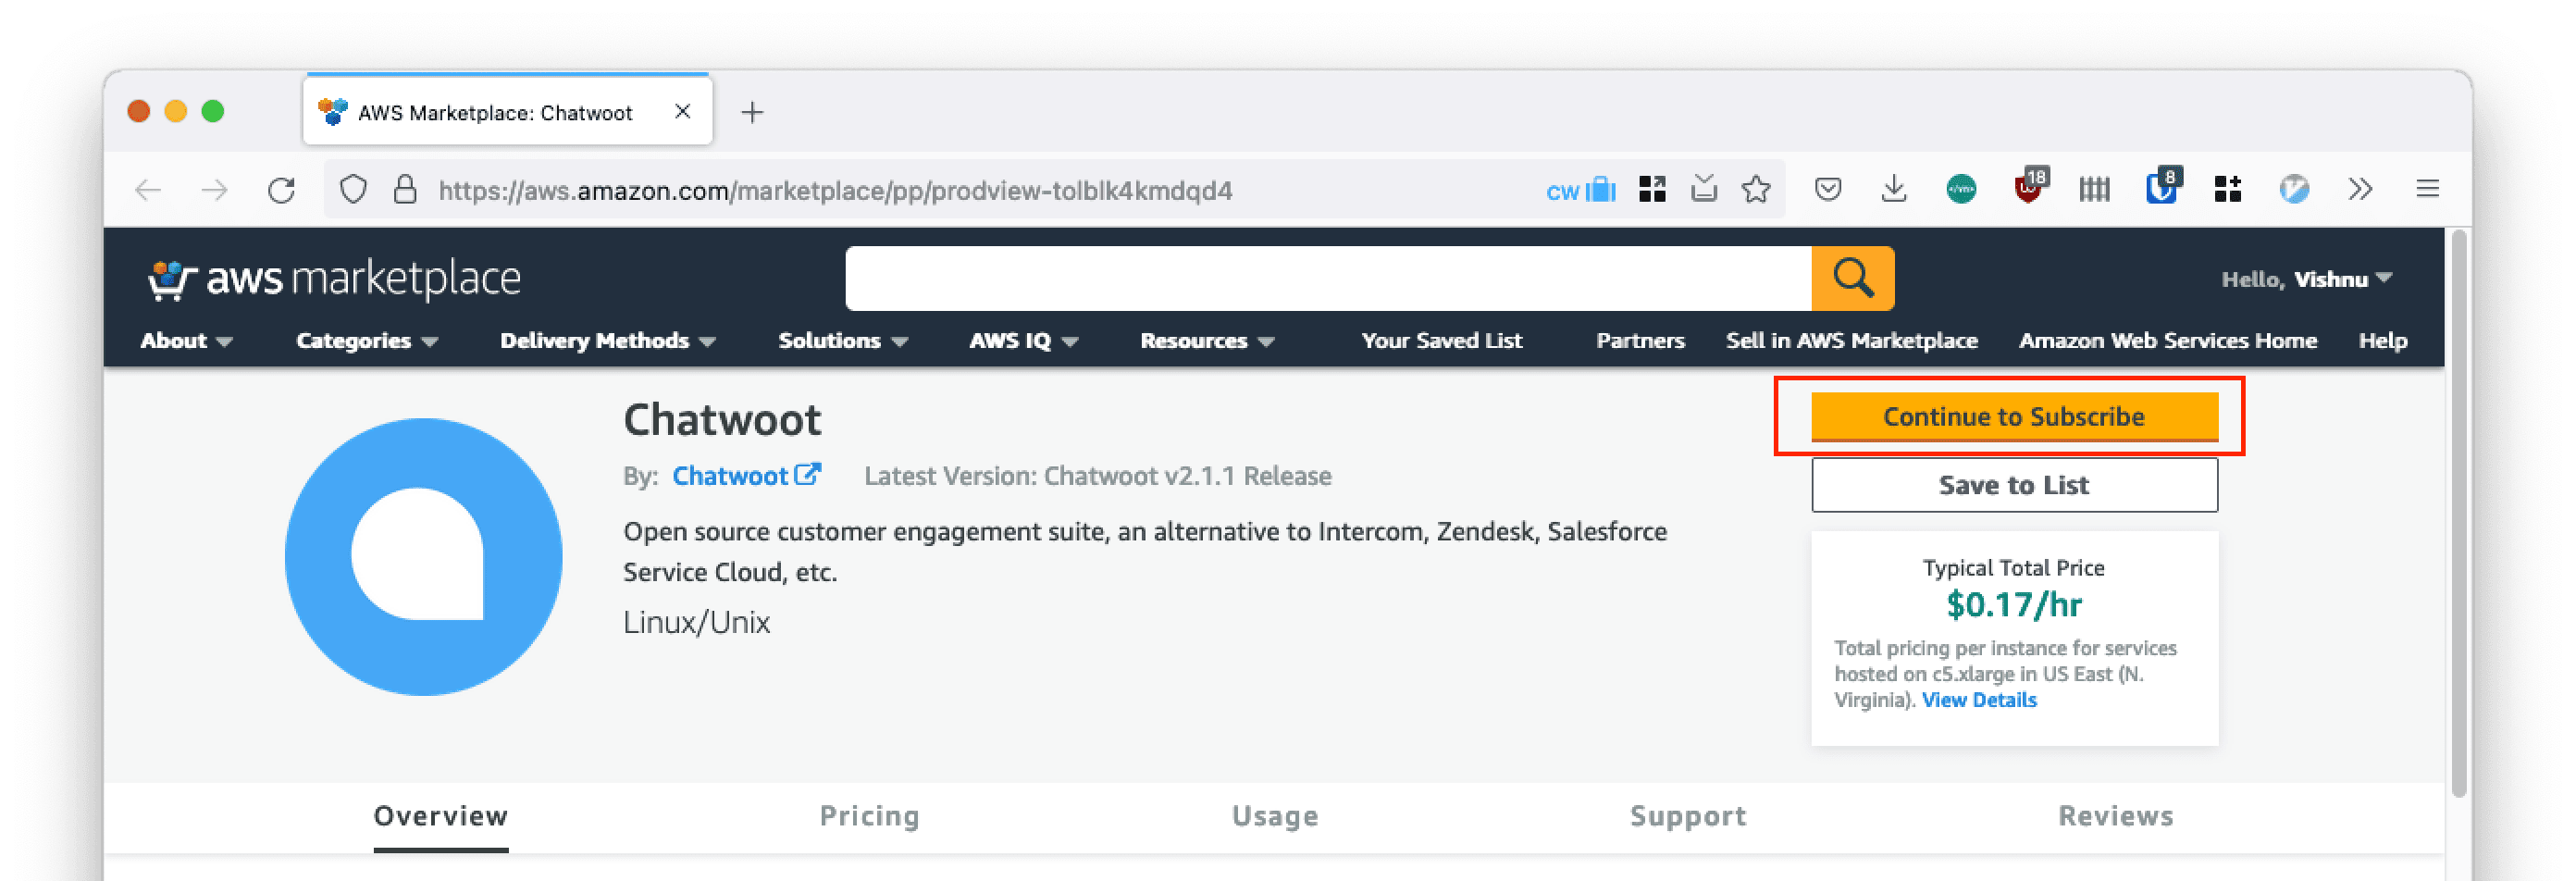
Step 1: Subscribe to Chatwoot
- Go to Chatwoot AWS marketplace listing and click on Subscribe.
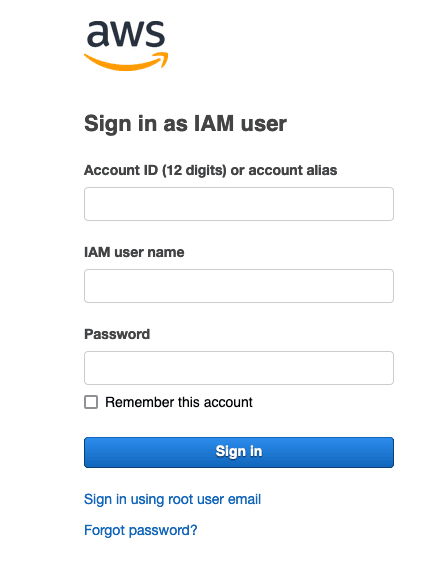
Step 2: Sign In
- Sign in with your AWS account.
Step 3: Continue to Configuration
- Click on Continue to Configuration.

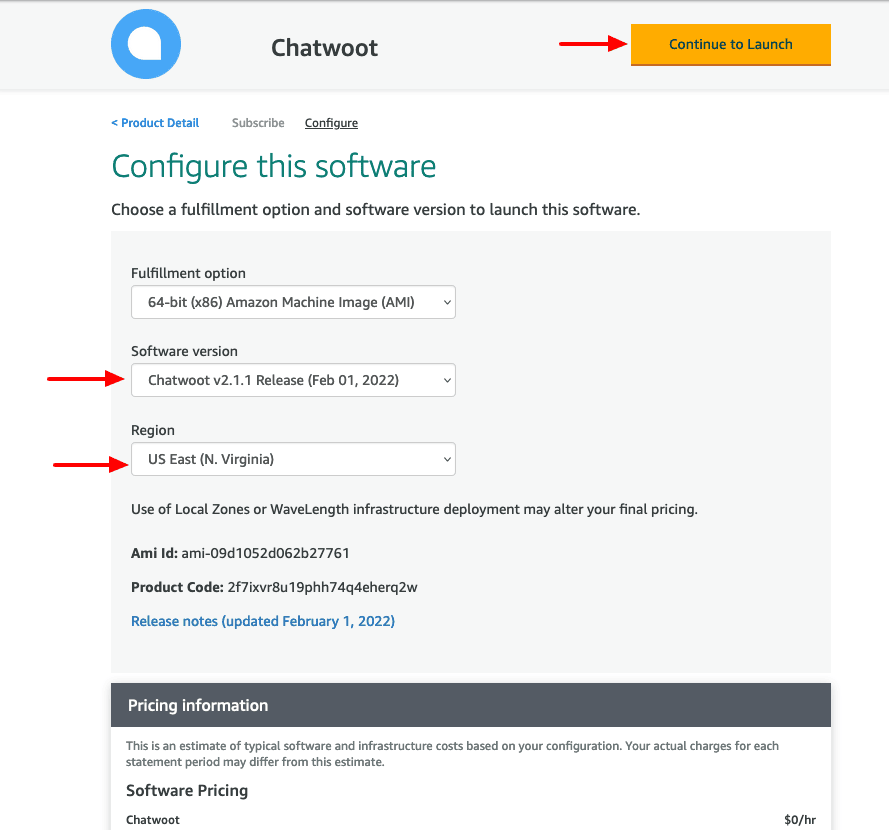
Step 4: Configure Software
- Select the latest version in Software Version and pick your AWS region. Click Continue to Launch.
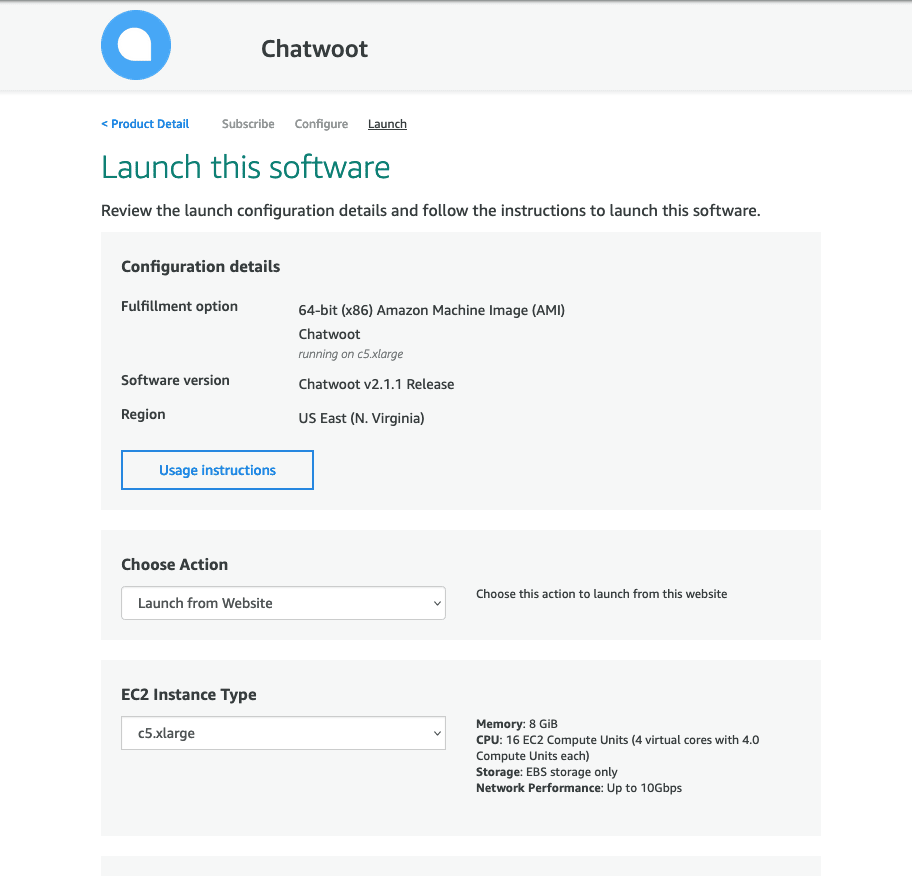
Step 5: Launch Configuration
- Review the launch configuration. Leave the Choose Action field with the default value Launch from Website. Choose a VPC and subnet as per your AWS region preference.
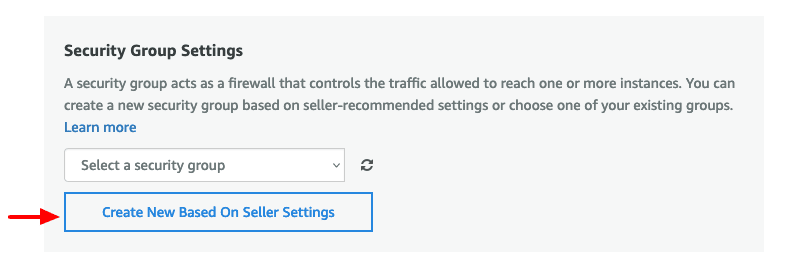
Step 6: Create Security Group
- Scroll down to the Security Group section and click Create New Based On Seller Settings.
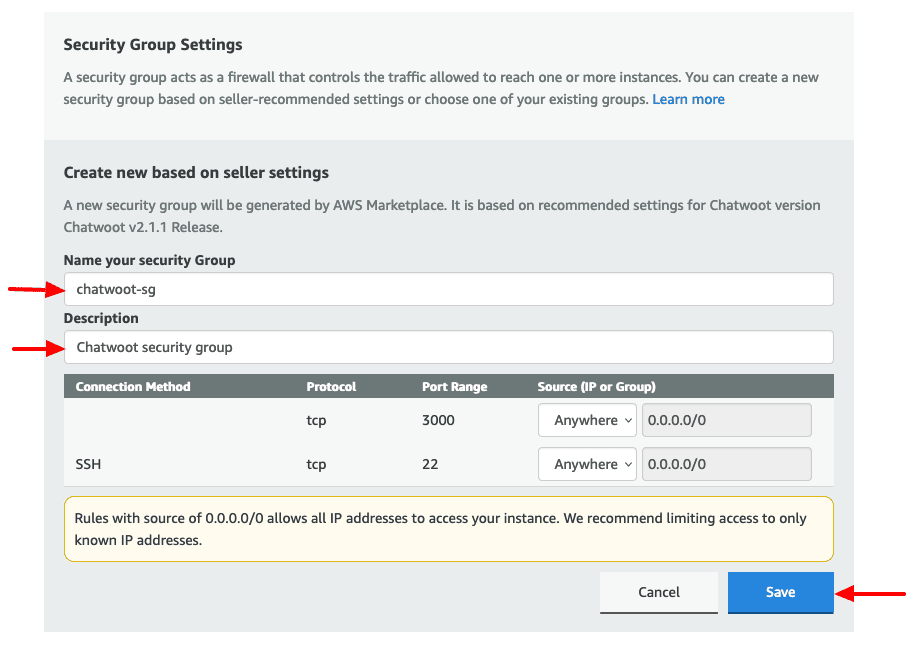
Step 7: Save Security Group
- Save the new security group and choose it after creation.
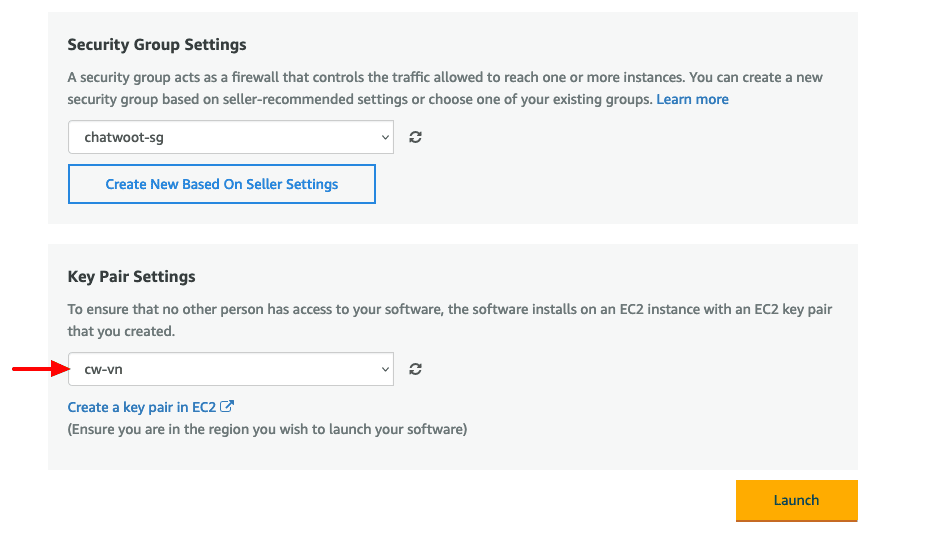
Step 8: Configure Key Pair
- Pick a key pair you already have or create a new one in the region you are deploying. Click Launch.
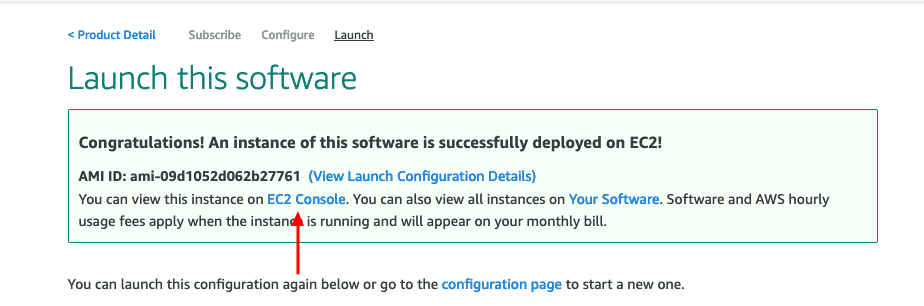
Step 9: Launch Confirmation
- AWS should now display a congratulations screen confirming that Chatwoot instance is launched successfully. Click on the EC2 Console link.
Step 10: Wait for Instance
- Wait for a few minutes to let the instance come up.

Step 11: Get Public IP
- Select the instance and copy the public IP.
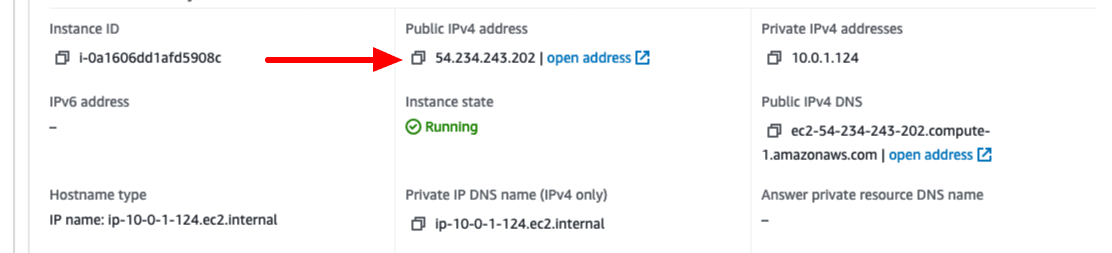
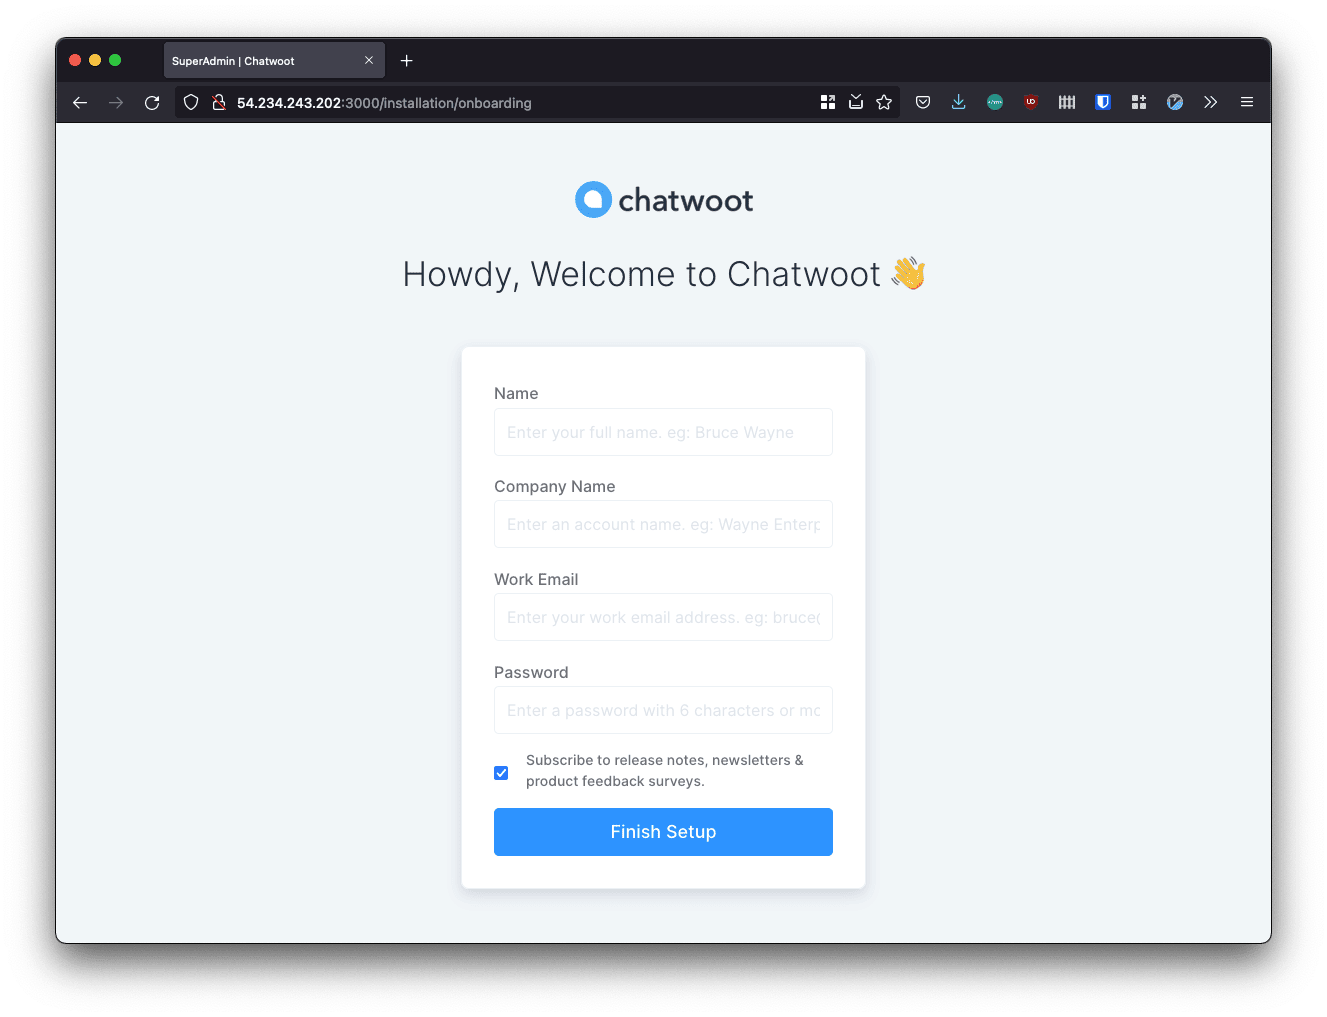
Step 12: Access Chatwoot
- Visit
http://<your-public-ip>:3000. This should bring up the Chatwoot UI. Congratulations. Woot! Woot!!
Step 13: Configure Production URL and SSL
For production deployments, associate an Elastic IP with the EC2 instance so the public IP does not change after restarts. Then create a DNSA record for your domain or subdomain pointing to that Elastic IP.
After the DNS record resolves, connect to the instance and run:
Configuring Chatwoot
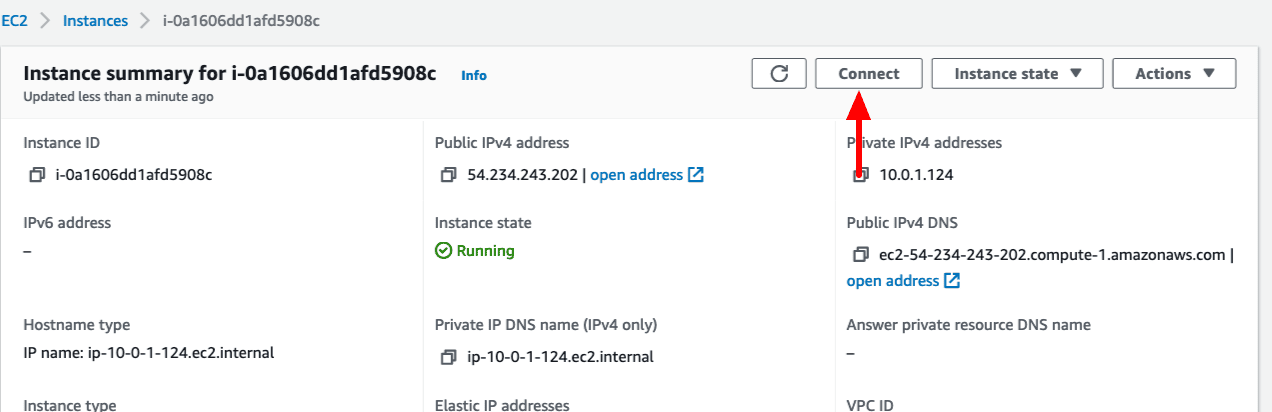
To configure Chatwoot, we need to SSH into the instance. We will use AWS Console Connect for this.Step 1: Connect to Instance
- Select the instance and click on Connect.
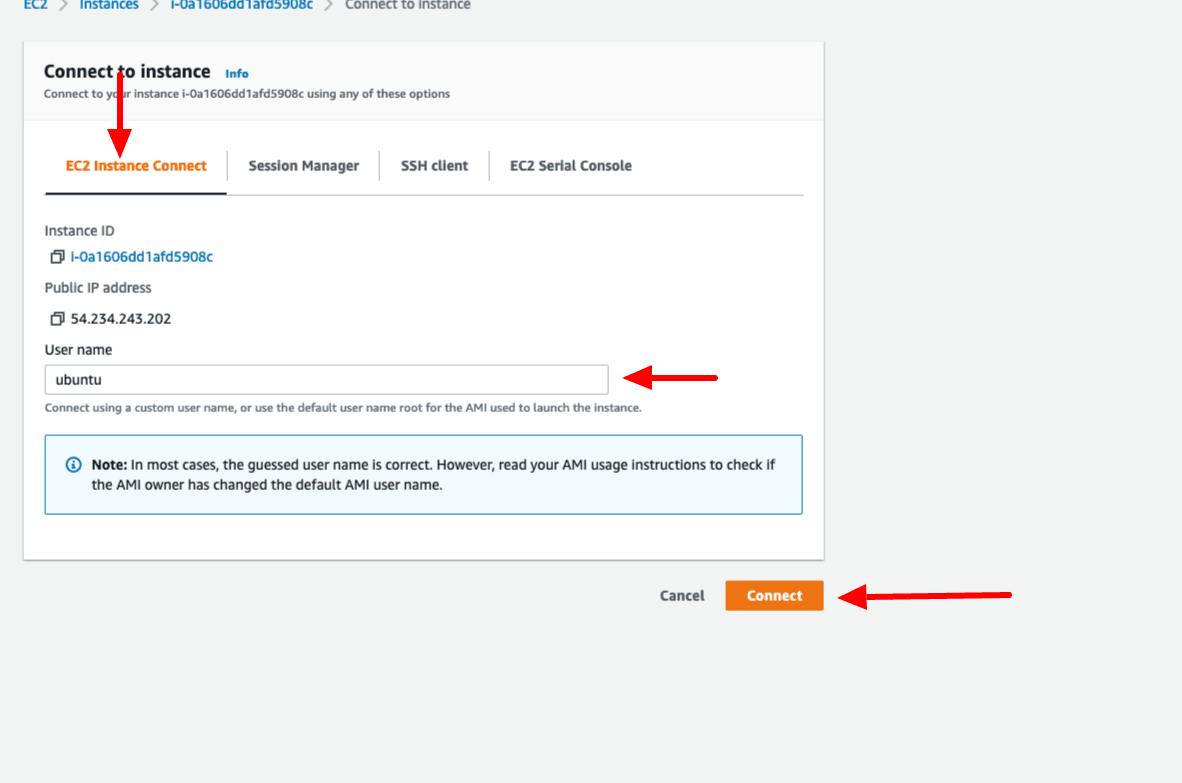
Step 2: Use Ubuntu User
- Change the username from
roottoubuntuand click Connect.
Step 3: Configure Environment Variables
- Switch to the
chatwootuser and configure the necessary environment variables. Refer to Environment variables document for the complete list.
For production, configure Nginx and SSL after pointing your domain to the instance. See Chatwoot CTL.
Updating the Instance
Please follow the Chatwoot update process in the standard Linux VM setup.Security Recommendations
SSL Configuration
- Set up SSL certificates using Let’s Encrypt or AWS Certificate Manager
- Configure Nginx as a reverse proxy
- Update security group rules to allow HTTPS traffic (port 443)
Access Control
- Restrict SSH access to specific IP addresses
- Use IAM roles for EC2 instances where possible
- Enable AWS CloudTrail for audit logging
Backup Strategy
- Set up automated EBS snapshots
- Configure database backups
- Store backups in S3 with appropriate lifecycle policies
Troubleshooting
Common Issues
Instance not accessible
Instance not accessible
Problem: Cannot access Chatwoot on port 3000Solutions:
- Check security group allows inbound traffic on port 3000
- Verify instance is running and healthy
- Check if Chatwoot service is running:
sudo systemctl status chatwoot
Application not starting
Application not starting
Problem: Chatwoot service fails to startSolutions:
- Check logs:
sudo journalctl -u chatwoot -f - Verify environment variables are correctly set
- Ensure database connection is working
- Check disk space and memory usage
Support Resources
The AWS Marketplace AMI provides a quick way to deploy Chatwoot with pre-configured settings. For production use, ensure you implement proper security measures and backup strategies.